The sections at the topmost part of the window are the general, project specific, information (Project, Project Location, Project Number, and Boring Designation) and will be printed at the top of each page.
The other fields at the top of the screen are boring-specific information and will be printed at the top of the first page only, unless the output template is otherwise modified..
Note that if the screen is not "tall" enough, the data entry and the headers sections will be on different tabs, as shown below (the General Information section is visible in this screen capture).

The data fields can all be filled by
typing in any information, however there are two methods of filling in
data more quickly that may be used. Both are accessed by
right-clicking in the text field to be filled.
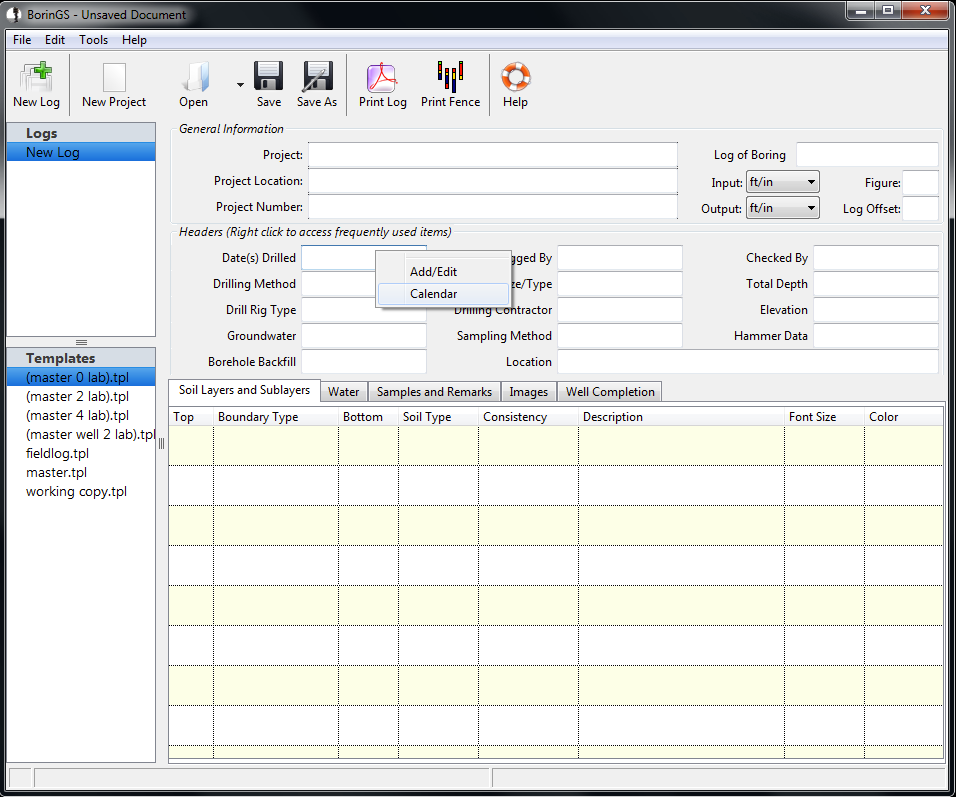
For easier date entry, right-click in the field and select "Calendar," as shown below.
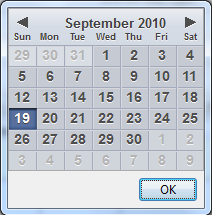
When the calendar is displayed, select the desired date and click "OK."
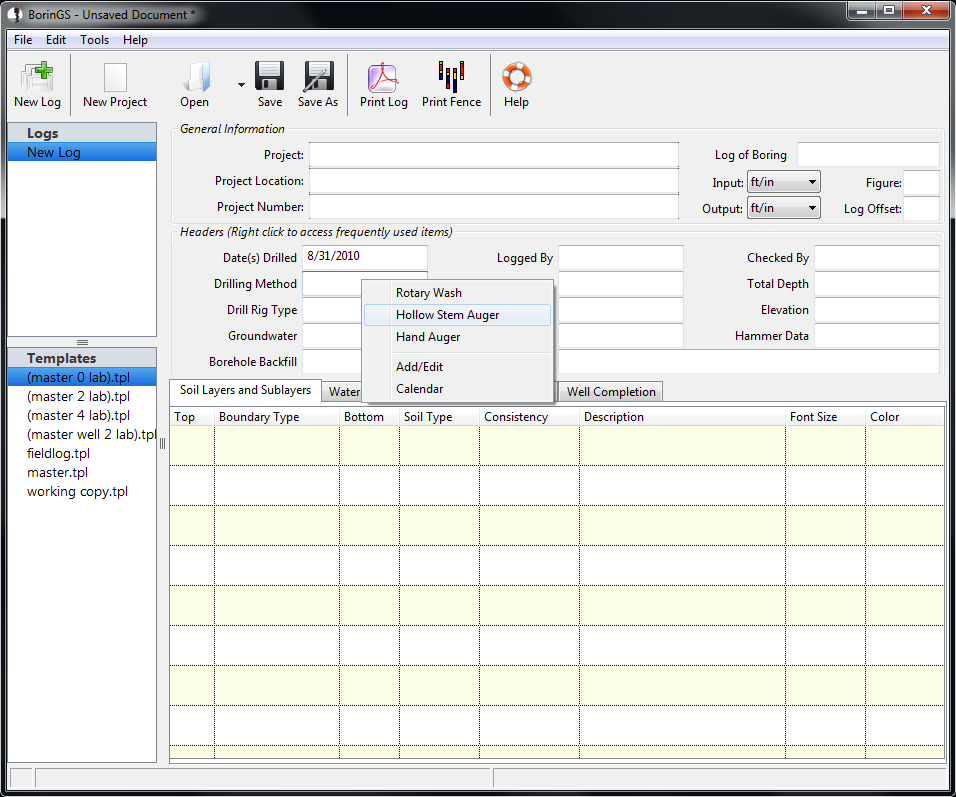
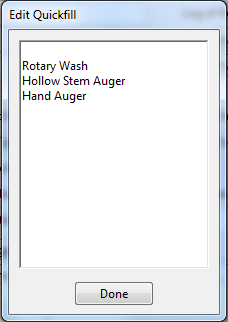
Several of the fields, such as "Drilling Method" and "Drill Rig Type," often use the same values from log to log. To ease data entry (and promote uniformity between logs), take advantage of the quickfill list. This list, specific to each field, should contain frequently used text and can be edited. For example, the below image shows what happens when the "Drilling Method" field is right-clicked: